3D Scanning and Reverse Engineering
Since 2011, Reverse Engineering in Doosan Škoda Power has undergone an enormous development and was integrated into the standard methods used both in developmental and production processes, and primarily for Non-OEM retrofits and modernization project execution.
Do you want to reconstruct a small object in size or do you want to gather 3D geospatial data from a hall or a building? We are most qualified to offer you solutions tailored to your needs.
Metrology Equipment

Doosan Škoda Power uses many highly accurate measuring devices for collecting data. These are predominantly optical or laser scanners, which help us convert any object or device into digital form.
ATOS III Triple Scan
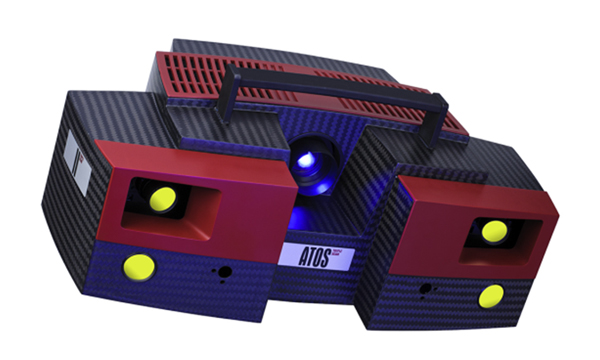
Technical specification:
| Camera pixels | 2 x 8 Mpx |
|---|---|
| Measuring area | 100 x 130 mm2 to 2000 x 1500 mm2 |
| Point spacing | 0,01 – 0,61 mm |
| Working distance | 490 – 2000 mm |
| Operating temperature | +5 to +40 °C |
A state-of-the-art 3D scanner that allows for the actual surface measuring of the tiniest to very large (such as a power plant turbine) objects. For common measurements we usually achieve a precision of a hundredth of a millimetre, while we are able to reach a thousandth of a millimetre for the most precise applications. We can get to any place in the world, including equipment and staff.
TRITOP
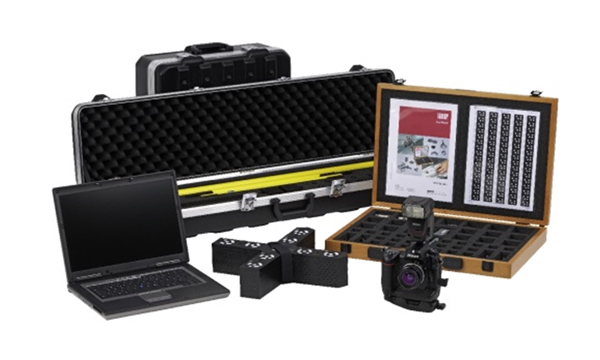
Technical specification:
| Camera pixels | up to 24 Mpx |
|---|---|
| Measuring area | 0.1 x 0.1 m2 to 100 x 100 m2 |
| Operating temperature | -40 to +120 °C |
| Point spacing | 0,01 – 0,61 mm |
TRITOP is a compact photogrammetry system which measures quickly and precisely 3D coordinates of chosen points on any kind of object. It can be used on its own or as a support for ATOS III Triple Scan, where it increases the precision to the maximum. It also allows for a rapid deformation analysis.
HandyScan 700
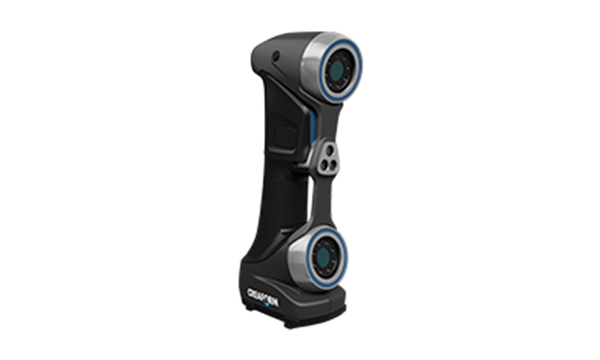
Technical specification:
| Accuracy | 0,020 mm + 0,015 mm/m |
|---|---|
| Scanning area | 275 x 250 mm |
| Stand – off distance | 300 mm |
| Depth of field | 250 mm |
| Part size range | 0,1 – 4 m |
| Operating temperature | +5 to +40 °C |
HandyScan is a perfect way to efficiently obtain very accurate and reliable 3D data. HandyScan does not require special transportation or numerous personnel, and is suitable for scanning tiny and large objects alike. If you need the precision to be up to a hundredth of a millimeter, this is a good choice. We can get to any place in the world with this device very fast.
MaxSHOT 3D
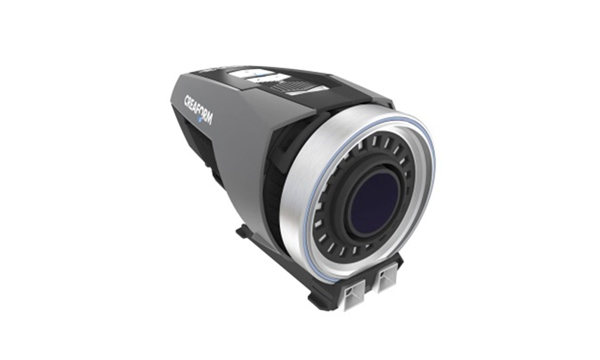
Technical specification:
| Volumetric accuracy | 0,025 mm/m |
|---|---|
| Average deviation | 0,008 mm/m |
| Part size range | 1 – 10 m |
| Operating humidity range | 10 – 90 % |
| Operating temperature | +5 to +40 °C |
MaxSHOT 3D is a very compact and quick-to-use photogrammetry system which guarantees the best possible measurement results. It can be used on its own or as a precision improvement for HandyScan 700 measuring system. It is generally used for measuring large (such as a power plant turbine) objects.
Leica ScanStation P20
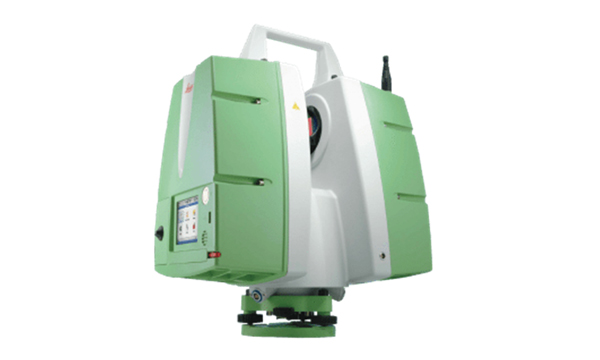
Technical specification:
| Accuracy | 3 mm up to 50 m; 6 mm at 100 m |
|---|---|
| Angular Accuracy | 8“ horizontal, 8“ vertical |
| Operating temperature | -20 °C to +50 °C |
| Scan rate | Up to 1 000 000 points/s |
| Range | Up to 120 m |
| Imaging | 5 Mpx per each 17° x 17° HDR image |
P20 is an ultra-high speed laser scanner used mostly for capturing the current real state of large objects like buildings, machine halls with piping, etc. Using this, we get a point cloud, which we use for measuring any type of dimensions. Those data also serve as an input for 3D modelling of a new building layout, including all instrumentation.